
Last updated September 23, 2026
Insulation Warning Signs: A Lancaster Homeowner’s Reference Guide
A Lancaster home with intact-looking attic insulation but an unsealed top-plate gap running the full perimeter of the house will test at 8-10 ACH50 on a blower door-twice the leakage rate of a code-minimum new build-and the insulation will appear undamaged to a casual visual inspection. The problem isn’t visible; it’s measurable. In Lancaster’s high-desert climate, where summer daily highs regularly exceed 95°F and winter nights drop below freezing, insulation failure shows up in utility data and HVAC runtime long before it produces anything you can point to in the attic. This guide-along with our Complete Guide to Insulation in Lancaster-teaches homeowners to read the indirect evidence their home is already producing: the bill patterns, the temperature differentials, the runtime hours, and the simple diagnostic checks that reveal whether your building envelope is performing or just present.
Quick Answer
The most reliable insulation warning signs in Lancaster are measurable, not visual: year-over-year cooling cost increases above 12% without a rate change, HVAC runtime exceeding 14 hours daily during July and August, room-to-room temperature differences greater than 3°F on a single zone, and ceiling surface temperatures more than 5°F above room air temperature. These indicators precede visible insulation damage by months or years. A $30 infrared thermometer can confirm them in 20 minutes.
Table of Contents
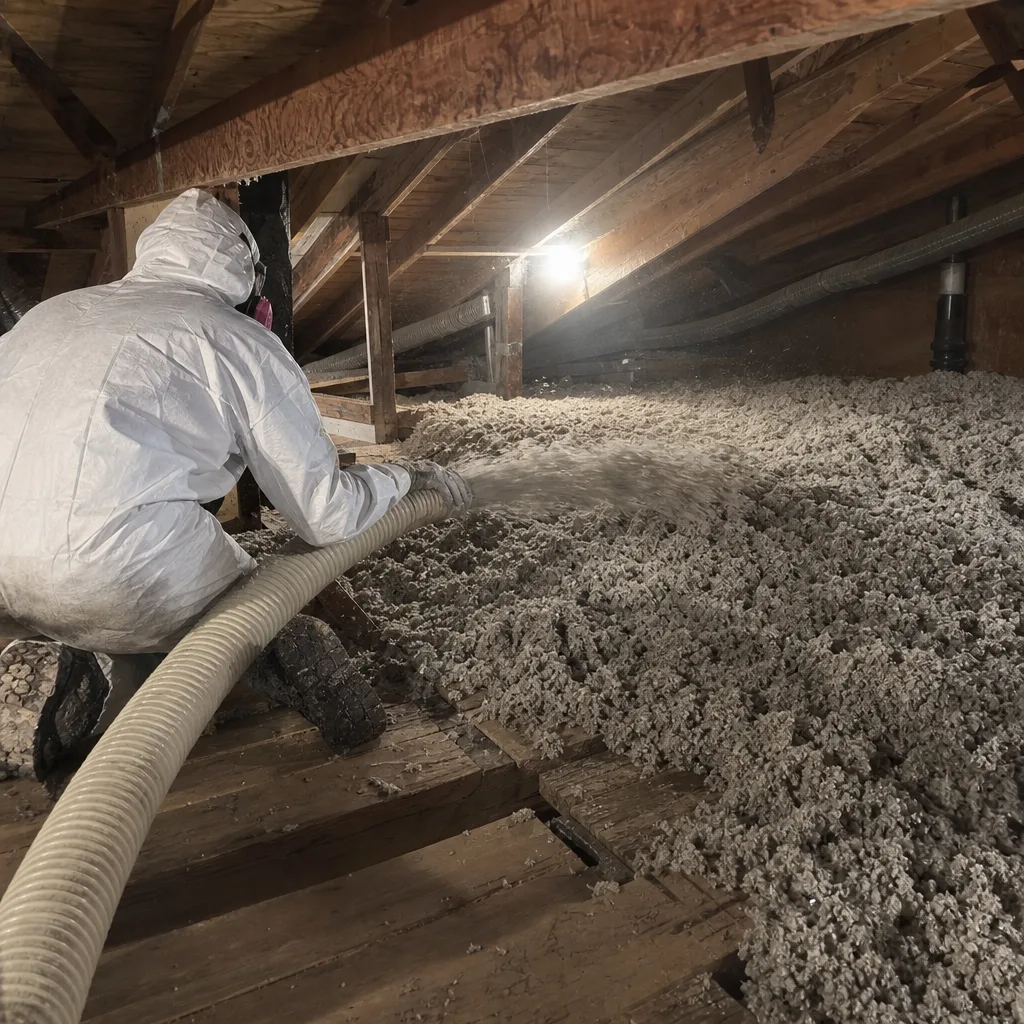
- Utility Bill Patterns That Signal Insulation Failure
- HVAC Runtime: The Hidden Diagnostic Tool
- Room-to-Room Temperature Differentials
- Hot Ceiling Syndrome in Lancaster’s Climate
- Physical Inspection: Definitive vs. Ambiguous Findings
- How to Run a $30 Infrared Thermometer Check
- Common Mistakes to Avoid
- When to Call a Professional
- Frequently Asked Questions
Utility Bill Patterns That Signal Insulation Failure
Most Lancaster homeowners check their utility bills for the total due, not the trend. That’s a missed diagnostic opportunity. Insulation degradation produces predictable signatures in your usage data, and the Antelope Valley’s extreme temperature swings make those signatures easier to read than in milder climates.
Here’s the pattern we watch for: a year-over-year cooling cost increase exceeding 12% when your utility rate hasn’t changed. In Lancaster, where Southern California Edison’s residential rates have been relatively stable compared to natural gas fluctuations, a double-digit jump in summer kWh usage almost always traces back to building envelope performance. The insulation isn’t necessarily gone; it’s often bypassed by air movement through gaps the insulation can’t seal.
Winter gas usage tells a similar story. A home with failing attic insulation or unsealed top plates in Lancaster will show January and February therms climbing 15-20% year-over-year even in mild winters. The high desert’s cold, clear nights create strong stack effect pressure-warm air escaping through ceiling penetrations, pulling replacement air through the crawl space or rim joists. The furnace runs longer to compensate, not harder. Same thermostat setting, more runtime, more therms.
We recommend Lancaster homeowners pull 24 months of usage data from SCE and SoCalGas portals. Plot cooling kWh against cooling degree days for July and August; plot heating therms against heating degree days for December through February. If your usage per degree day is climbing, your envelope is leaking performance. We’ve seen this pattern in homes across Lancaster’s established neighborhoods-from the older stock near Lancaster Boulevard to 1990s builds in Quartz Hill-often before any visual insulation defect appears.
The critical distinction: rate changes and weather changes explain some variance. Performance degradation explains the rest. A home that needed 2.1 kWh per cooling degree day in 2022 but needs 2.6 in 2024 has an envelope problem, not a thermostat problem.
HVAC Runtime: The Hidden Diagnostic Tool
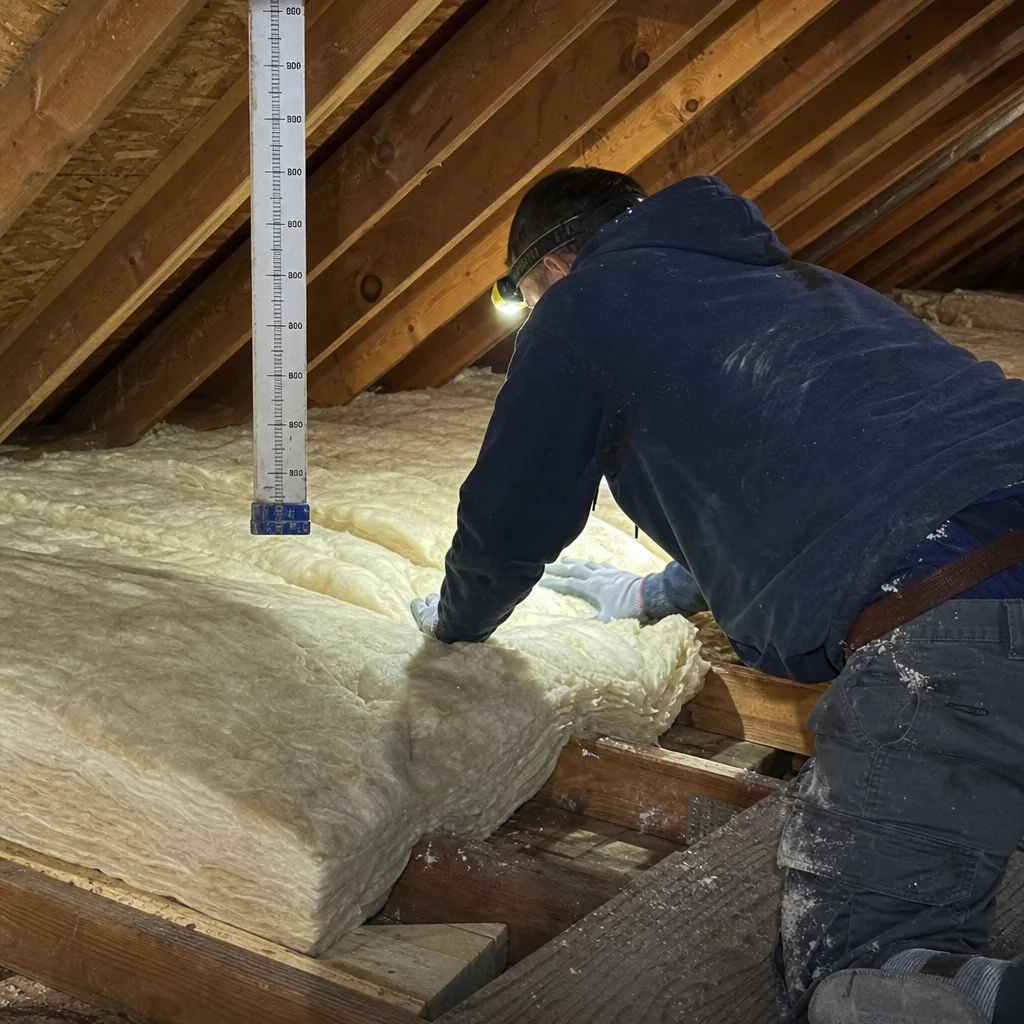
Your thermostat records runtime even if you never look at it. In Lancaster’s climate, that data is a direct read on whether your insulation and air sealing are doing their job.
During peak summer-typically late July through mid-August in the Antelope Valley-a properly sealed and insulated home with correctly sized HVAC should run 8 to 12 hours per day to maintain 75-78°F indoor temperature. When runtime consistently exceeds 14 hours, the equipment is compensating for thermal loss or gain that the envelope should be blocking. We’ve documented this in Lancaster homes where the attic insulation appeared adequate by depth but was undermined by unsealed can lights, open chase ways, and top-plate gaps that allowed conditioned air to bypass it entirely.
The diagnostic value increases when you track runtime against outdoor temperature. A home with good envelope performance shows a linear relationship: 95°F outside produces X hours of runtime, 102°F produces X+2 hours. A home with insulation failure or air leakage shows a steeper curve-the same 7-degree jump produces X+5 hours because the envelope can’t buffer the load.
Modern smart thermostats (Ecobee, Nest, Honeywell Home) make this data accessible. Older systems require an hour meter or manual logging. Either way, the pattern is what matters. In our work across Lancaster, we’ve found that runtime logging often reveals problems in homes where the insulation depth meets code but the air sealing is absent-something our Attic Insulation Maintenance Checklist for Lancaster Homeowners helps you catch early. Blown fiberglass or cellulose over an unsealed attic floor performs like a filter, not a barrier-air moves through it, carrying heat and moisture.
One specific Lancaster factor: the afternoon wind. The Antelope Valley’s consistent westerly flow in summer creates positive pressure on west-facing walls and negative pressure on leeward surfaces. Homes with unsealed wall cavities or poorly detailed attic venting see accelerated thermal transfer during peak hours. Runtime spikes between 2 PM and 6 PM that don’t correlate with outdoor temperature peaks often indicate this wind-driven infiltration.
Room-to-Room Temperature Differentials
A single-zone HVAC system in a Lancaster home should maintain temperatures within 3°F across all conditioned rooms when the system has been running for 30 minutes or more. Differences beyond that threshold indicate localized failure-either insulation, duct leakage, or both.
Mapping these differentials tells you where to look. Here’s the method we use on initial consultations:
- Close all windows and exterior doors. Set the thermostat to a single temperature and let the system run for 45 minutes.
- Measure air temperature at the return grille and at each supply register with a basic digital thermometer.
- Measure room air temperature at chest height, mid-room, away from registers and exterior walls.
- Record the difference between the warmest and coolest rooms.
A room that runs 4-6°F cooler than the rest in heating mode, or warmer in cooling mode, almost always has a duct issue-leakage, disconnection, or inadequate supply. But a room that diverges in both directions (too cold in winter, too warm in summer) points to envelope failure: missing or degraded wall insulation, unsealed rim joists, or attic floor gaps above that room specifically.
In Lancaster’s 1970s and 1980s housing stock, we see this pattern frequently in rooms with vaulted ceilings or additions. Original construction often used R-19 batts in 2×6 ceiling rafters-marginal even when new, and frequently compressed or displaced by decades of maintenance access. The master bedroom in a split-level near Avenue J, for example, tested 7°F warmer than the downstairs living area in August; the vaulted ceiling had original batts fallen to the bottom of the cavity, leaving the upper roof deck essentially uninsulated.
The 3°F threshold is diagnostic, not comfort-based. Some homeowners tolerate larger swings. The point is that measurable divergence indicates a fixable problem, and the pattern of divergence indicates where to focus.
Hot Ceiling Syndrome in Lancaster’s Climate
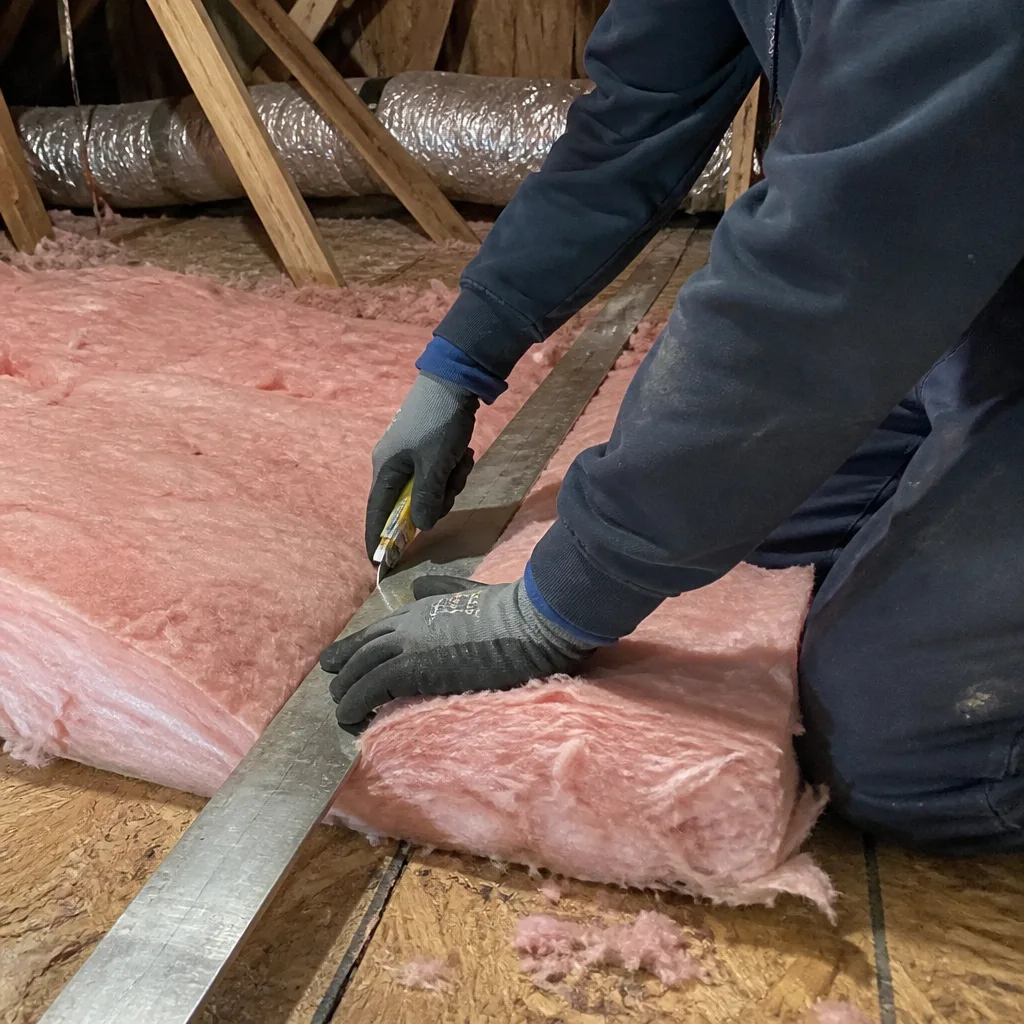
“Hot ceiling syndrome” is our term for a ceiling surface temperature more than 5°F above the room air temperature during cooling operation. In Lancaster’s summer conditions, it’s a reliable indicator that attic insulation depth, radiant barrier performance, or both have failed.
The physics are straightforward. Attic temperatures in Lancaster regularly reach 140-160°F on summer afternoons. A properly insulated and sealed attic floor should limit heat transfer so that the ceiling drywall stays within 2-3°F of room air temperature. When the temperature gap widens, heat is radiating through the ceiling assembly faster than the insulation can resist it.
We measure this with an infrared thermometer aimed at the ceiling surface, not the air. In a Lancaster home with R-38 blown cellulose and intact air sealing, we’ll typically read ceiling temperatures of 78-80°F when the room is 75°F. In a home with compressed or insufficient insulation, or with failed radiant barrier if one was installed, readings of 85-92°F are common. The homeowner experiences this as a persistent warmth overhead, often described as “the AC runs but I still feel heat from above.”
Lancaster’s specific climate makes radiant barrier failure particularly consequential. Many local homes built in the 2000s have radiant barrier OSB roof decking or foil-faced products that degrade when attic dust accumulates on the reflective surface. A radiant barrier that started at 95% reflectivity and drops to 60% due to dust coverage loses roughly half its effective performance. The insulation beneath it then faces a higher thermal load than designed.
Homes in Lancaster’s newer developments-West Lancaster, the areas north of Avenue K-sometimes show hot ceiling syndrome even with adequate insulation depth because the radiant barrier was omitted or improperly installed during construction. The California Energy Code has required some form of cool roof or radiant barrier in Climate Zone 15 since 2013, but enforcement and installation quality vary.
The 5°F threshold is our diagnostic line. Below it, the ceiling assembly is performing. Above it, there’s a quantifiable problem that insulation improvement, air sealing, or radiant barrier restoration can address.
Physical Inspection: Definitive vs. Ambiguous Findings
Visual attic inspection produces two categories of findings: those that prove a problem, and those that merely suggest one. Lancaster homeowners waste money and delay proper fixes when they treat ambiguous signs as definitive.
Definitive findings:
- Insulation depth below the labeled R-value for the material type. Blown fiberglass at 8 inches depth is R-19, not R-30, regardless of what a contractor may have claimed. Measure with a ruler at multiple points.
- Compressed batts at eave edges, where insulation has been pushed into the narrow space and lost its loft. A compressed R-30 batt performs at roughly half its rated value.
- Visible gaps at top plates, plumbing penetrations, or electrical boxes where light from below shows through. These are air leakage paths that bypass insulation entirely.
- Insulation displacement from wind washing or maintenance activity, creating bare patches on the attic floor.
- Water staining that has saturated insulation, collapsing its structure and promoting mold. The insulation must be removed and replaced; drying in place is not adequate.
Ambiguous findings:
- Minor surface discoloration on batts or loose fill. Some darkening is normal dust settling; it does not necessarily indicate air leakage or degradation.
- Slight dust streaking on insulation surfaces. This can indicate air movement, but the volume and path matter. Light streaking near a single penetration is minor; streaking across broad areas suggests systemic leakage.
- Uniform settling of blown insulation over time. A 10% reduction in depth from original installation is expected; 25% or more indicates inadequate initial density or material failure.
- Presence of rodent droppings or nesting material. This requires remediation, but the insulation beneath may be structurally intact after cleaning and sanitizing.
In Lancaster’s climate, one additional definitive finding is worth noting: UV degradation of exposed insulation on gable end walls or in attic spaces with inadequate venting. The intense high-desert sun breaks down binder materials in fiberglass and cellulose, causing the product to lose loft and disintegrate. We’ve replaced insulation in Lancaster attics where the original material had degraded to a gray, powdery residue after 15 years of exposure.
The key discipline for homeowners: measure what you can, photograph what you see, and distinguish between observation and diagnosis. For a structured approach, see our Seasonal Insulation Care for Lancaster: Year-Round Homeowner’s Guide. A definitive finding justifies action. An ambiguous finding justifies further testing-blower door, infrared scan, or professional assessment.
How to Run a $30 Infrared Thermometer Check
You don’t need a $3,000 thermal imaging camera to do meaningful preliminary diagnostics. A handheld infrared thermometer, available at any hardware store for $25-35, provides sufficient data to identify whether your home has envelope problems worth professional investigation.
Here’s the protocol we teach Lancaster homeowners:
- Choose your conditions. Run this check on a day when the outdoor temperature is at least 20°F different from your indoor setpoint-hot summer afternoon for cooling concerns, cold winter morning for heating concerns. The thermal gradient drives measurable surface temperature differences.
- Establish your baseline. Set your thermostat to a single temperature and let the system run for 45 minutes with all windows and doors closed. Record the room air temperature in each room you’ll test.
- Measure ceiling surfaces. Stand in the center of each room and aim the infrared thermometer at the ceiling, holding it at a consistent angle (perpendicular to the surface is best). Record the reading. Move to multiple points if the ceiling is large or has slopes.
- Measure exterior walls. Aim at the wall surface midway between floor and ceiling, away from windows and doors. Record readings on north, south, east, and west walls separately.
- Measure interior partitions. Check walls between rooms that show temperature differentials. A shared wall that reads significantly different on each side suggests insulation void or air leakage in that cavity.
- Compare and map. Calculate the difference between each surface reading and the room air temperature. Map rooms where ceiling or wall surfaces exceed 5°F from air temperature, or where room-to-room differences exceed 3°F.
What the numbers mean in Lancaster conditions:
- Ceiling surface within 2-3°F of room air: adequate insulation and air sealing performance.
- Ceiling surface 4-5°F above room air in summer: marginal performance, likely insufficient depth or degraded material.
- Ceiling surface 6°F or more above room air: significant failure requiring professional assessment.
- Exterior wall surface more than 5°F from room air in either direction: wall insulation void, failure, or wind-driven air leakage.
- Consistent 4°F+ difference between rooms on the same HVAC zone: localized duct or envelope failure.
The limitations are real. An infrared thermometer reads a single point, not a pattern. It won’t find air leakage paths directly, only their thermal consequence. It can’t assess insulation quality beneath the surface. But as a first-pass screening tool, it separates homes that need professional investigation from those that don’t-and it gives you documented numbers to discuss with any contractor you call.
We’ve had Lancaster homeowners bring us their infrared readings during initial consultations. The data speeds our assessment and confirms whether the symptoms they’re experiencing match the physical reality. Under Haven Standard: Have it in writing-we document our own readings and provide them alongside any proposal.
Common Mistakes to Avoid
- Assuming visible insulation means working insulation. In Lancaster’s climate, insulation that’s present but bypassed by air leakage performs like no insulation at all. The blower-door test-not visual inspection-reveals this condition.
- Adding insulation without air sealing first. Blown cellulose or fiberglass over an unsealed attic floor simply filters the leaking air. The correct sequence, which we follow on every job: seal first, then insulate. Attic Insulation in Lancaster covers our full process.
- Trusting contractor claims about R-value without measurement. Insulation settles, compresses, and degrades. Verify depth with a ruler at multiple points, and know the rated depth for your material’s claimed R-value.
- Ignoring winter performance because “Lancaster doesn’t get that cold.” The Antelope Valley regularly sees nights below freezing from December through February. Poor envelope performance costs more in heating than many homeowners assume, and the same air leaks that lose heat in winter admit heat in summer.
- Buying a thermal camera instead of fixing known problems. A $30 infrared thermometer identifies whether you have a problem; a $3,000 camera just shows it in more detail. Spend the difference on air sealing.
- Accepting “R-30 equivalent” claims for thin spray foam. Spray foam’s performance depends on thickness and installation quality. Open-cell foam at 3 inches is not R-30 regardless of marketing claims. Spray Foam Insulation in Lancaster details actual thickness requirements.
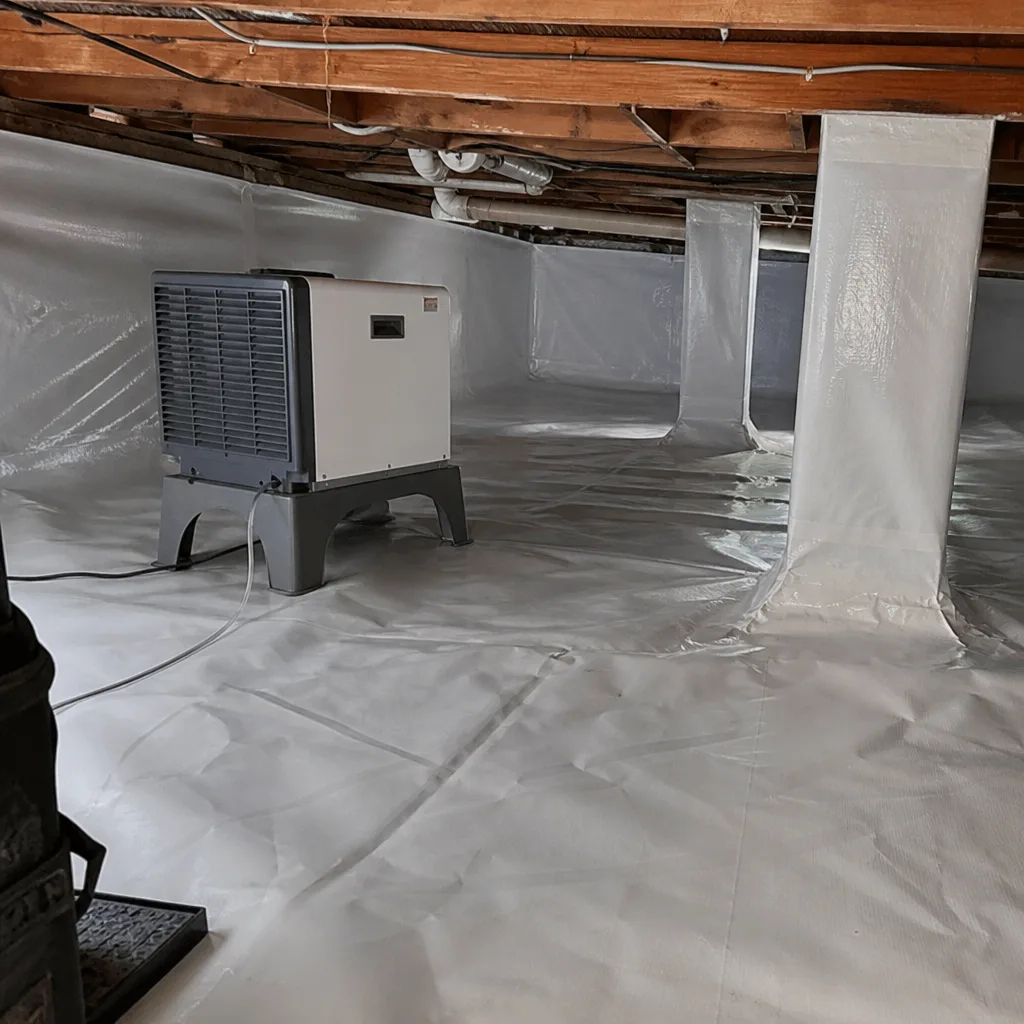
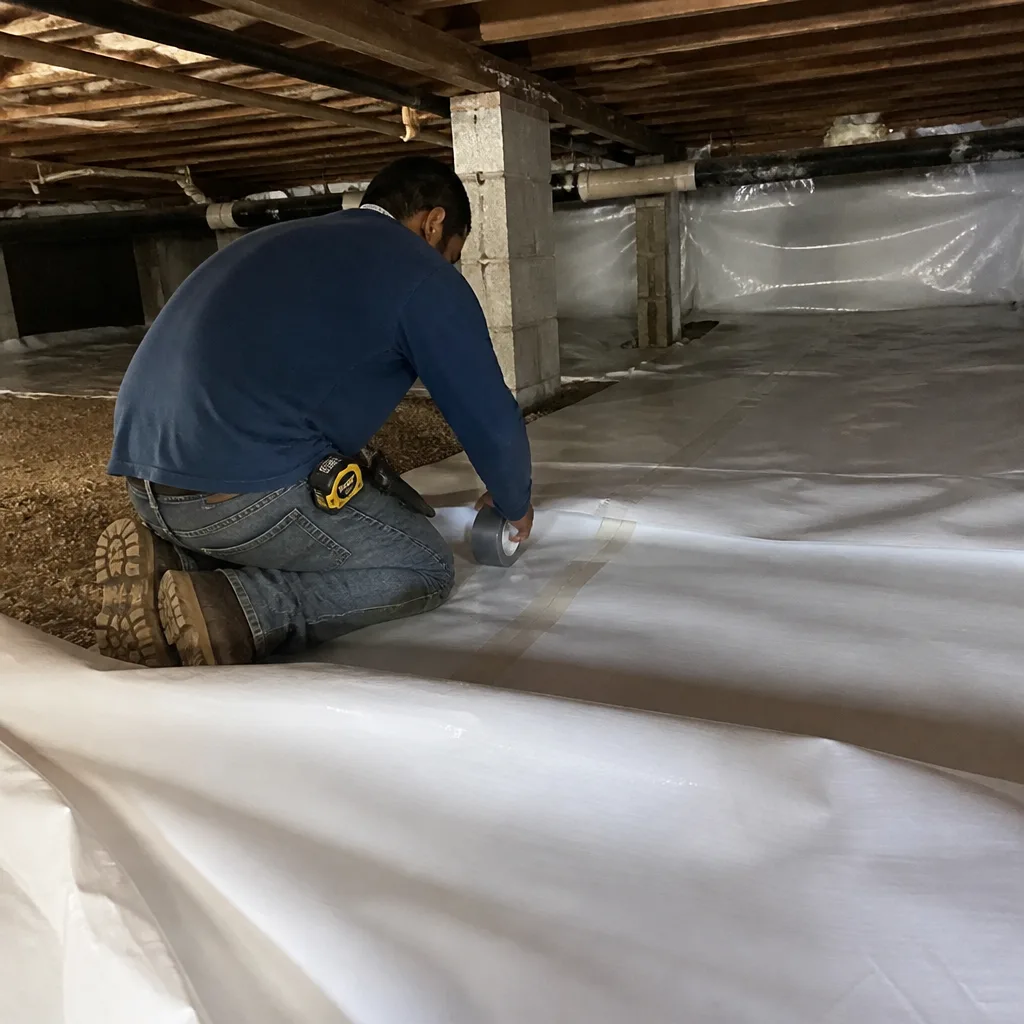
- Neglecting crawl space conditions. In Lancaster’s older homes with raised floors, unsealed crawl spaces introduce moisture and unconditioned air that undermines wall and floor insulation performance. Crawl Space Encapsulation & Vapor Barrier in Lancaster addresses this specifically.
When to Call a Professional
Call for assessment when your infrared check shows ceiling or wall surface temperatures more than 5°F from room air, when room-to-room differentials exceed 3°F on a single zone, or when utility trend analysis shows year-over-year performance degradation above 12%. These are measurable thresholds, not subjective comfort complaints.
Also call before visible damage appears: water staining on ceilings, ice damming in winter (rare but possible in Lancaster’s wind-exposed homes), or insulation displacement from rodent activity. Early intervention limits scope and cost.
Topside Attic Insulation Lancaster offers free estimates in Lancaster-call (661) 526-2890-and publishes more guides & resources for local homeowners. Every estimate includes a written price before any work starts, a documented photo record of conditions found, and on applicable jobs, before-and-after blower-door numbers so you can verify the air-sealing result. The 365-Day Done Right Promise applies to all completed work.
Frequently Asked Questions
Most attic insulation removal and replacement jobs in Lancaster homes of 1,400-2,200 square feet run between $2,800 and $5,400, depending on access conditions, existing material type, and whether air sealing is included. Wall insulation is more variable, typically $3,500-$7,500 for a complete retrofit. We provide a written price before any work starts-no exceptions. Call (661) 526-2890 for an exact quote; estimates are free.
Sometimes, but rarely without compromise. In Lancaster’s climate, adding new insulation over old without addressing air leakage, moisture damage, or rodent contamination traps problems and reduces new material performance. We assess existing conditions and document them with photos before recommending any approach. When the old insulation is clean, dry, and uncompressed, we may recommend overlay with additional blown material after air sealing is complete.
Fiberglass and mineral wool products in stable attic conditions last 80-100 years structurally, but their thermal performance degrades if compressed, wetted, or bypassed by air leakage. Cellulose settles 10-20% over time and may require topping off after 15-25 years. The critical factor in Lancaster is not age but condition-specifically, whether air sealing has prevented wind washing and thermal bypass. We’ve seen 10-year-old insulation perform like new and 5-year-old insulation fail due to installation without sealing.
For specific applications, yes. Closed-cell spray foam at proper thickness provides both insulation and air sealing in one step, which is valuable in Lancaster’s wind-driven climate for rim joists, cathedral ceilings, and irregular cavities that batt or blown products can’t seal. Open-cell foam is less suitable for Lancaster’s temperature extremes due to lower R-value per inch and moisture sensitivity. We specify Owens Corning, Johns Manville, Knauf, and other established brands based on application requirements, never proprietary products. Spray Foam Insulation in Lancaster details when foam is and isn’t the right choice.
In Lancaster homes, this pattern typically indicates attic floor air leakage combined with insufficient insulation depth. Hot attic air migrates through gaps at top plates, can lights, and chase ways, while the insulation present can’t resist the radiant heat load from the roof deck. The stack effect intensifies this in two-story homes. A blower-door test locates the leakage paths; infrared measurement confirms the thermal bypass. Sealing first, then adding insulation to full R-38 or R-49, usually resolves the pattern.
Insulation slows conductive heat transfer through materials; air sealing blocks convective heat and moisture movement through gaps and cracks. In Lancaster’s climate, both are necessary and neither substitutes for the other. Insulation without sealing performs like a filter-air moves through it, carrying heat and moisture. Sealing without insulation leaves the building envelope under-protected against radiant and conductive loads. Our work sequence is always seal first, then insulate, verified by blower-door test. Topside Attic Insulation Lancaster home explains our full building envelope approach.
The Bottom Line
Insulation failure in Lancaster announces itself through data before it produces visible damage. Track your utility usage per degree day, log your HVAC runtime during peak summer, measure room-to-room temperatures after 45 minutes of operation, and check ceiling surface temperatures with a $30 infrared thermometer. The thresholds are clear: 12% year-over-year cost increase, 14+ hours daily runtime, 3°F room differentials, 5°F ceiling surface gaps. When these appear, the problem is already costing you money. The fix-proper air sealing followed by insulation to verified depth, documented with before-and-after blower-door numbers-restores performance you can measure on your next bill.
Written by Wes Okafor, Owner at Topside Attic Insulation Lancaster, serving Lancaster since 2016.