
Last updated September 23, 2026
Attic Insulation Maintenance Checklist for Lancaster Homeowners
A displaced return-air duct boot in a Lancaster attic can add 18-22% to a summer cooling bill within a single season, and it looks, from below, exactly like a functioning duct. The warning sign isn’t visible from inside the house at all. Most insulation problems in the Antelope Valley don’t announce themselves with a dramatic failure. They accumulate through dust infiltration during monsoon season, rodent activity in the cooler months, and the slow compression of blown-in material that was never measured after installation. This checklist gives Lancaster homeowners a repeatable annual inspection protocol with measurable benchmarks, not vague visual impressions, and complements The Complete Guide to Insulation in Lancaster for deeper context. You’ll learn how to check your insulation depth against California code requirements, identify the specific damage patterns that matter, and build a documentation trail that protects your investment at resale.
Quick Answer
Attic insulation maintenance in Lancaster requires two focused inspections yearly: a pre-summer check in May for radiant barrier integrity and duct connections, and a post-monsoon check in October for moisture intrusion and settled insulation depth. Homeowners should measure blown-in depth with a ruler against the R-value label required on the attic access hatch, inspect for rodent damage patterns distinct from normal settling, and verify that all recessed can lights are IC-rated and properly sealed. Keep depth measurements, duct photos, and any blower-door readings in a file; this documentation directly affects resale value and insurance claims in California.
Table of Contents
- Lancaster’s Two-Season Inspection Calendar
- How to Measure Insulation Depth and Verify R-Value
- Identifying Rodent Damage vs. Normal Settling
- Recessed Can Lights: The Hidden Air Leak
- Duct Boots, Top Plates, and Penetrations
- Building Your Documentation Trail
- Common Mistakes to Avoid
- When to Call a Professional
- Frequently Asked Questions
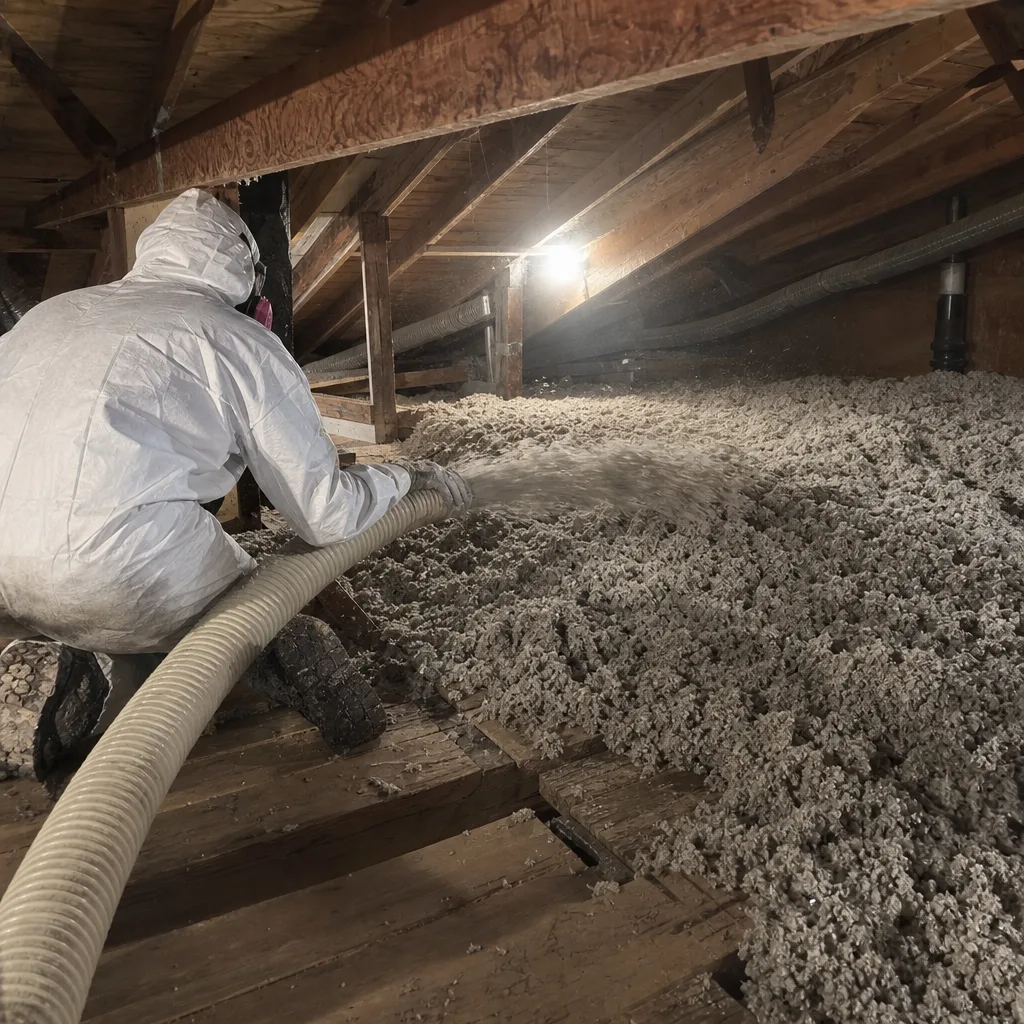
Lancaster’s Two-Season Inspection Calendar
The Antelope Valley’s climate creates two distinct risk windows for attic insulation. Ignore either one, and you’re guessing about performance.
Pre-Summer Inspection: Early May
By May, Lancaster’s daily highs are climbing past 85°F and your cooling system is about to shoulder its heaviest load. This is when you verify that the attic isn’t working against it.
- Check radiant barrier integrity. If you have a radiant barrier, whether foil-faced sheathing or a suspended sheet system, look for dust accumulation on the reflective surface. Dust destroys reflectivity. In Lancaster’s spring wind events, fine Mojave dust settles on horizontal surfaces and can reduce radiant barrier effectiveness by 30-40% within two years. Wipe a test patch; if the surface beneath is still reflective, you’re in acceptable condition. If the foil has oxidized or torn at staple points, note the location.
- Inspect all duct connections. Flex duct connections at the plenum and at each boot should show no gaps in the inner liner or the insulation sleeve. The metal collar should be sealed with mastic, not failing tape. In our experience across Lancaster’s Westside and Quartz Hill neighborhoods, the temperature swing from 30°F winter nights to 100°F summer days degrades tape adhesive faster than in coastal climates.
- Verify attic ventilation paths. Soffit vents should be unobstructed by insulation. Look for baffles (properly called vent chutes or rafter vents) that keep insulation back from the eaves. Without them, summer heat builds in the roof deck and transfers down through the insulation stack, working against everything you’ve paid for.
- Measure insulation depth at three points. We’ll cover the exact method below, but May is your baseline. If depth has dropped more than 1.5 inches from installation, you’re losing R-value before the hardest season hits.
Post-Monsoon Inspection: Late October
Lancaster’s monsoon season, typically July through September, delivers the year’s only significant moisture in short, intense bursts. By October, any intrusion has had time to manifest.
- Check for water staining on insulation and decking. Look at the attic side of the roof deck for dark streaks or mold spotting. Check the top surface of insulation directly below any roof penetrations, chimney saddles, or valley flashings. In Lancaster’s dry climate, even minor leaks can dry quickly and leave only a stain, but that stain tells you a penetration is failing.
- Re-measure insulation depth. Compare against your May numbers. Normal settling in blown fiberglass is 1-2% per year; in cellulose, 3-5% in the first two years then stabilizing. A drop of more than 2 inches suggests disturbance, not settling.
- Inspect for rodent activity. Cooler nights drive rodents toward conditioned spaces. Look for the specific damage patterns covered in the next section.
- Check bathroom and kitchen exhaust terminations. These should vent through the roof or gable end, never into the attic. A disconnected duct dumps humid air directly into your insulation. In Lancaster’s low ambient humidity, this is often the only moisture source that triggers mold in an attic.
This two-inspection rhythm matches how Lancaster homes actually perform. The May check prevents summer energy waste. The October check catches what the monsoons delivered and what rodents started as temperatures dropped.
How to Measure Insulation Depth and Verify R-Value
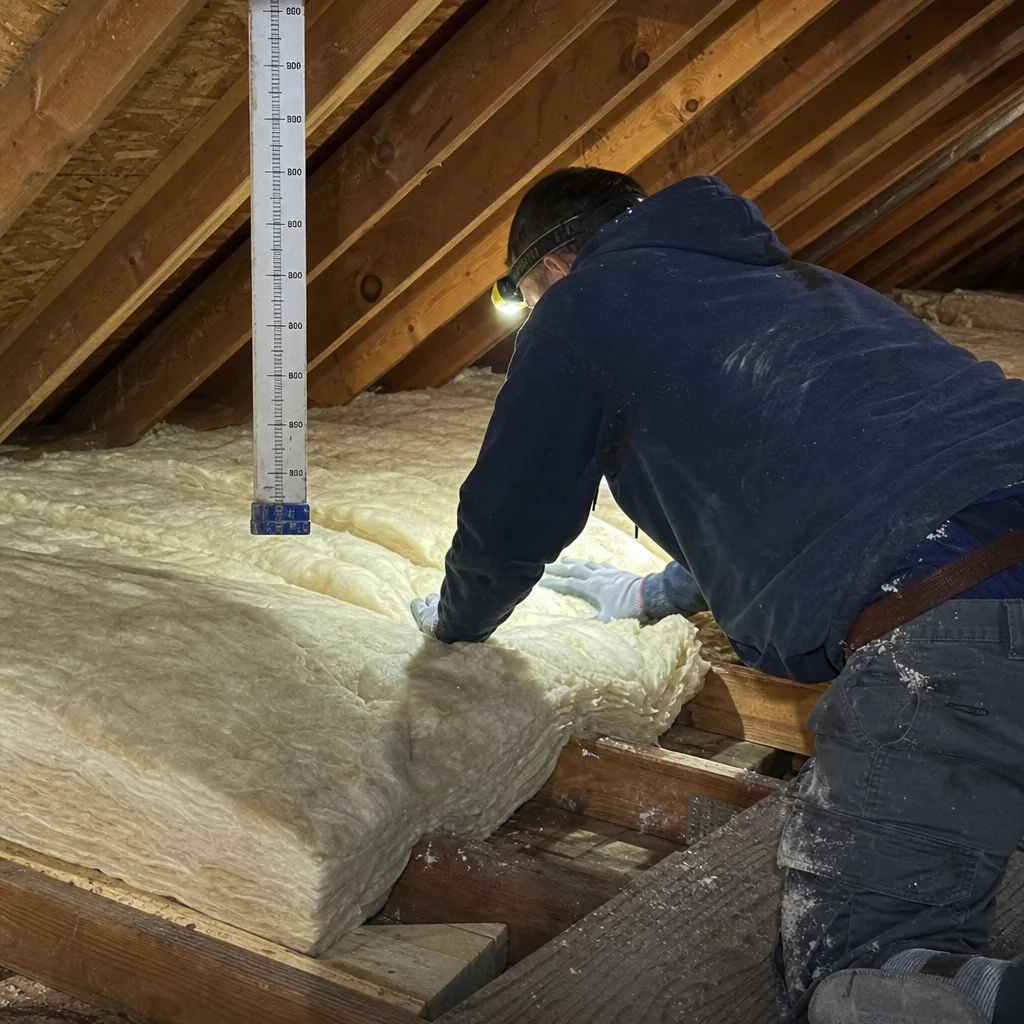
California’s Title 24 energy code requires that attic insulation installations include a label on or near the attic access hatch stating the installed R-value, the insulation type, and the coverage area. If your attic lacks this label, that’s your first finding. It means either the work predates the requirement, was done without permit, or the label was removed. Any of those affects how you interpret what you find.
The Measurement Method
- Choose three representative locations: one near the center of the attic, one near a perimeter wall, and one near a duct penetration or other obstruction.
- Use a wooden ruler or measuring stick, not a tape measure that can bend and follow the insulation contour. Press vertically through the insulation until you hit the drywall or plaster ceiling below. Do not compress the material.
- Record the depth at each point to the nearest half-inch.
- Compare against the labeled R-value using the conversion for your insulation type:
- Fiberglass batts: R-3.1 to R-3.7 per inch (use R-3.3 for estimation)
- Blown fiberglass: R-2.5 to R-3.0 per inch (use R-2.8)
- Blown cellulose: R-3.2 to R-3.8 per inch (use R-3.5)
- Spray foam, open-cell: R-3.5 to R-3.6 per inch
- Spray foam, closed-cell: R-6.0 to R-6.5 per inch
- If your measured R-value is more than 10% below the labeled value, you have a problem. Common causes in Lancaster include: settling beyond normal compression, disturbance by previous trades (HVAC, electrical, pest control), or installation that never achieved the labeled depth.
What the Label Tells You
The label itself is evidence. In a home sale or insurance claim, it establishes what was supposed to be there. If you’re missing the label, document your measurements with photos showing the ruler in place, the date, and your location in the attic. This becomes your baseline.
In Lancaster’s 93534, 93535, and 93536 ZIP codes, we’ve found that homes built between 1985 and 2005 often have original insulation labeled at R-19 but measured at R-13 or below due to decades of settling and disturbance. The label, even if faded, gives you a target. Without it, you’re estimating against current code minimums, which for Lancaster’s climate zone is R-38 for attics in new construction and R-30 for retrofits.
Materials from Owens Corning, Johns Manville, and Knauf all publish settling-adjusted coverage charts that account for initial loft loss. If you know the original product, you can look up the installed thickness required to achieve a settled R-value. This matters because a contractor who installs to minimum thickness without settling adjustment is delivering less performance than the label suggests.
Identifying Rodent Damage vs. Normal Settling
Not all insulation compression is damage. Normal settling follows predictable patterns. Rodent damage does not, and the distinction matters for both remediation and health.
Normal Settling Patterns
- Uniform depth reduction across the attic, greatest in the first two years after installation
- Slight increase in density without change in material color or odor
- No exposed pathways through the insulation to the deck below
- No foreign material mixed into the insulation
Rodent Damage Patterns
- Compressed channels 2-4 inches wide, running in irregular paths through the insulation. These are travel routes, not random compression. They often follow joist bays or run parallel to duct lines.
- Nesting voids: circular or oval depressions 6-12 inches across where material has been gathered and shaped. Nests are typically in corners, near penetrations, or above warm ceiling areas like recessed lights.
- Urine staining: yellow to brown discoloration of fiberglass or cellulose, often with a sharp ammonia odor. In cellulose, urine causes clumping that looks like damp spots but feels dry to touch. This is a biohazard; disturbed particles become airborne.
- Gnawed batts: if you have fiberglass batts, look for edges that appear torn rather than cut. Rodents pull and chew, leaving irregular edges and scattered tufts on the attic floor.
- Droppings: dark, rice-grain-sized pellets, often concentrated along travel channels. Fresh droppings are black and soft; old ones are gray and crumble.
What to Document
Photograph any damage with a ruler or coin for scale. Note the location relative to fixed points: the attic access, a vent pipe, a specific duct branch. If you find active infestation signs, do not disturb the material. Disturbing rodent-contaminated insulation without proper PPE and containment spreads hantavirus and other pathogens. This is not a DIY situation.
In Lancaster’s older neighborhoods near downtown and the Sierra Highway corridor, roof rats are the primary concern. In newer developments on the city’s western edge, ground squirrels occasionally access through unscreened eave vents. The damage pattern differs: squirrels create larger, more destructive nests and may chew through wiring insulation as well.
Recessed Can Lights: The Hidden Air Leak
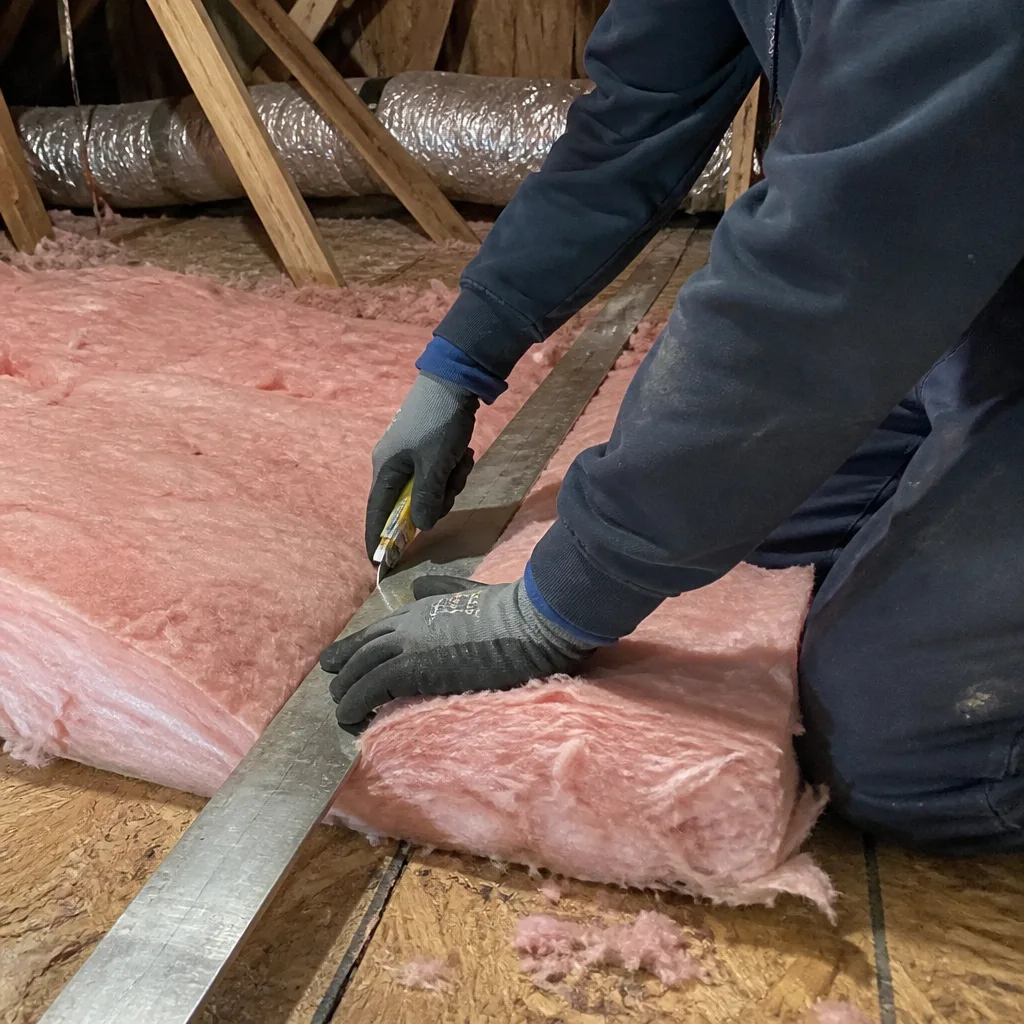
Recessed can lights are the most common air-leak source we find during Lancaster attic inspections. They’re also the most dangerous to get wrong, because the wrong type in contact with insulation creates a fire hazard.
IC-Rated vs. Non-IC-Rated
IC stands for Insulation Contact. An IC-rated fixture is designed to have insulation in direct contact with its housing without overheating. A non-IC-rated fixture requires a 3-inch clearance on all sides and cannot have insulation over it.
To identify which type you have, look at the inside of the can from the attic side. IC-rated housings are typically stamped with “IC” or “ICAT” (Insulation Contact, Air Tight). Non-IC housings often have ventilation slots or holes in the metal that are visible from above. If you see slots, it’s non-IC. If you’re uncertain, assume non-IC and maintain clearance.
The Air-Sealing Problem
Even ICAT-rated cans leak air unless they were specifically sealed during installation. The gap between the drywall and the can rim is a direct path between your conditioned space and the attic. In summer, this dumps cooled air into a 140°F attic. In winter, it pulls dust and attic air into your living space.
During your inspection:
- Identify every can light from above.
- Note whether each is IC or non-IC.
- Check for a pre-formed gasket or caulk seal at the drywall junction. A proper seal is continuous, not spotty.
- For non-IC cans, verify the 3-inch clearance is maintained. Insulation often gets pushed against these over time by other trades or by homeowners adding material.
- For ICAT cans without visible sealing, note the quantity. These are candidates for professional air sealing with fire-rated caulk or pre-formed covers.
In Lancaster, where cooling dominates energy bills, unsealed can lights in a typical 1,800-square-foot home can add $180-$280 to annual cooling costs. We’ve measured this with blower-door tests - a pressurization reading that shows, in one number, how much air your building envelope is losing. A home with 12 unsealed can lights typically shows 250-400 CFM50 of leakage attributable to those fixtures alone.
Under Haven Standard, we seal every penetration before adding insulation. Sealed first, then insulated. In that order. Blowing insulation over unsealed can lights buries the problem and makes future access impossible without removing material.
Duct Boots, Top Plates, and Penetrations
The return-air duct boot displacement mentioned in the opening is one specific failure mode in a broader category: penetrations that were never properly sealed at the time of construction or that have failed since.
What to Inspect
- Duct boots: The metal collar where flex duct connects to the ceiling register. From the attic, verify the flex is fully seated on the collar, secured with a tension clamp or zip tie, and sealed with mastic. The boot itself should be sealed to the drywall with mastic or foil tape. A displaced boot pulls attic air directly into your return stream - 130°F dust-laden air in summer, which your system then cools at full energy cost.
- Top plates: The horizontal framing member where interior walls meet the ceiling. In platform-framed homes, this is a gap-filled junction that connects conditioned space to attic. Look for visible gaps between the top plate and the drywall, or between double top plates. These are sealed with caulk or foam during proper air sealing.
- Plumbing and electrical penetrations: Every pipe, wire, and conduit that enters the attic is a potential leak path. Sealant should be continuous around the penetration, not just stuffed with loose fiberglass.
- Chimney chases and framing gaps: The gap between a masonry chimney and the surrounding framing must be sealed with fire-rated material, not standard caulk or foam. Look for deteriorated sealant or gaps where the chase meets the attic floor.
The Blower-Door Benchmark
If you’ve had previous energy work, you may have a blower-door test result. The number to know is CFM50 - cubic feet per minute of airflow at 50 pascals of pressure. For a Lancaster home of 2,000 square feet, a pre-sealing reading of 3,500 CFM50 or higher indicates significant leakage. A well-sealed home of the same size should read below 2,000 CFM50. The difference between those numbers is what you’re paying to heat and cool.
At Topside Attic Insulation Lancaster home, we publish before-and-after blower-door numbers on every applicable job. If you’re comparing contractors, ask for this documentation. A contractor who can’t or won’t provide it is asking you to trust without verify.
Building Your Documentation Trail
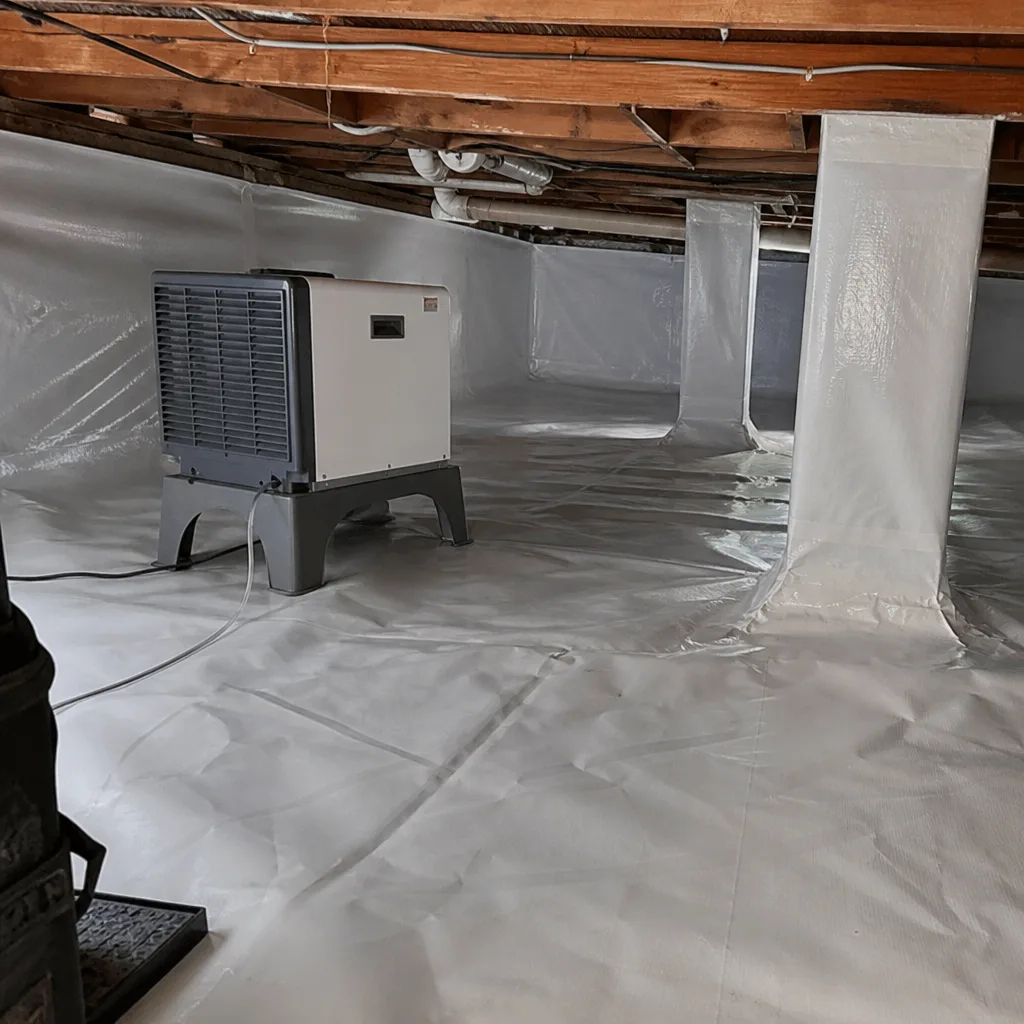
The documentation you keep affects resale value, insurance claims, and your ability to verify that future work was necessary. Here’s what to maintain and why.
What to Keep
| Document | What It Shows | Why It Matters |
|---|---|---|
| Annual depth measurements by zone | Insulation performance trend over time | Proves maintenance; identifies degradation before failure |
| Photos of duct connections with date stamps | Condition at specific points in time | Establishes pre-loss condition for insurance; shows if HVAC work disturbed insulation |
| Blower-door test results | Quantified air leakage | Resale value; proof of improvement; baseline for future comparison |
| Original installation label or permit | Intended R-value and coverage | Code compliance; warranty support; establishes what was paid for |
| Any remediation or pest control records | Incident history and response | Health disclosure at sale; insurance documentation |
How to Organize It
A simple file folder or cloud folder with dated subfolders works. The key is consistency: same measurement points, same photo angles, same time of year. When you sell, this file demonstrates that the attic was maintained, not just installed and forgotten. In California’s disclosure environment, documented maintenance reduces buyer uncertainty and supports your asking price.
For homeowners in Lancaster’s newer developments, this documentation is especially valuable. Rapid construction in the 2015-2020 period often meant insulation installed to minimum code without attention to air sealing. A documented improvement history distinguishes your home from identical floor plans that received no follow-up.
Common Mistakes to Avoid
- Adding insulation over unsealed air leaks. This is the most common error we correct in Lancaster attics. New insulation doesn’t stop air movement; it just hides the path. The leak continues, and you’ve made it harder to find.
- Compressing insulation to fit storage boards. Walking on or laying plywood directly on blown insulation compresses it, reducing R-value by 30-50% in those areas. Use raised storage platforms that maintain the full insulation depth beneath.
- Blocking soffit vents with added insulation. Well-meaning homeowners add insulation right to the eave, cutting off ventilation. This creates summer heat buildup and winter moisture problems. Always install vent chutes before adding depth at the perimeter.
- Ignoring the access hatch itself. The attic access is often uninsulated and unsealed, creating a thermal chimney effect. A 1/4-inch gap around a 22×30-inch hatch is equivalent to a 6-square-inch hole in your ceiling. Weatherstrip the rim and add rigid insulation to the hatch face.
- Using the wrong product for the application. Fiberglass near recessed lights requires IC-rated fixtures. Cellulose in potential rodent areas needs borate treatment, not just fire retardant. Spray foam insulation in Lancaster applications require specific thicknesses for vapor control in our dry climate.
- Skipping the post-monsoon check. Lancaster’s dry reputation makes moisture seem irrelevant, but monsoon-driven leaks are real and often small enough to self-dry while leaving structural damage. October is your window to catch what July through September delivered.
- Failing to document before and after any work. Without photos and measurements, you have no proof of what existed, no way to verify improvement, and no leverage if something goes wrong. The Haven Standard requires written scope and written warranty before work starts for exactly this reason.
When to Call a Professional
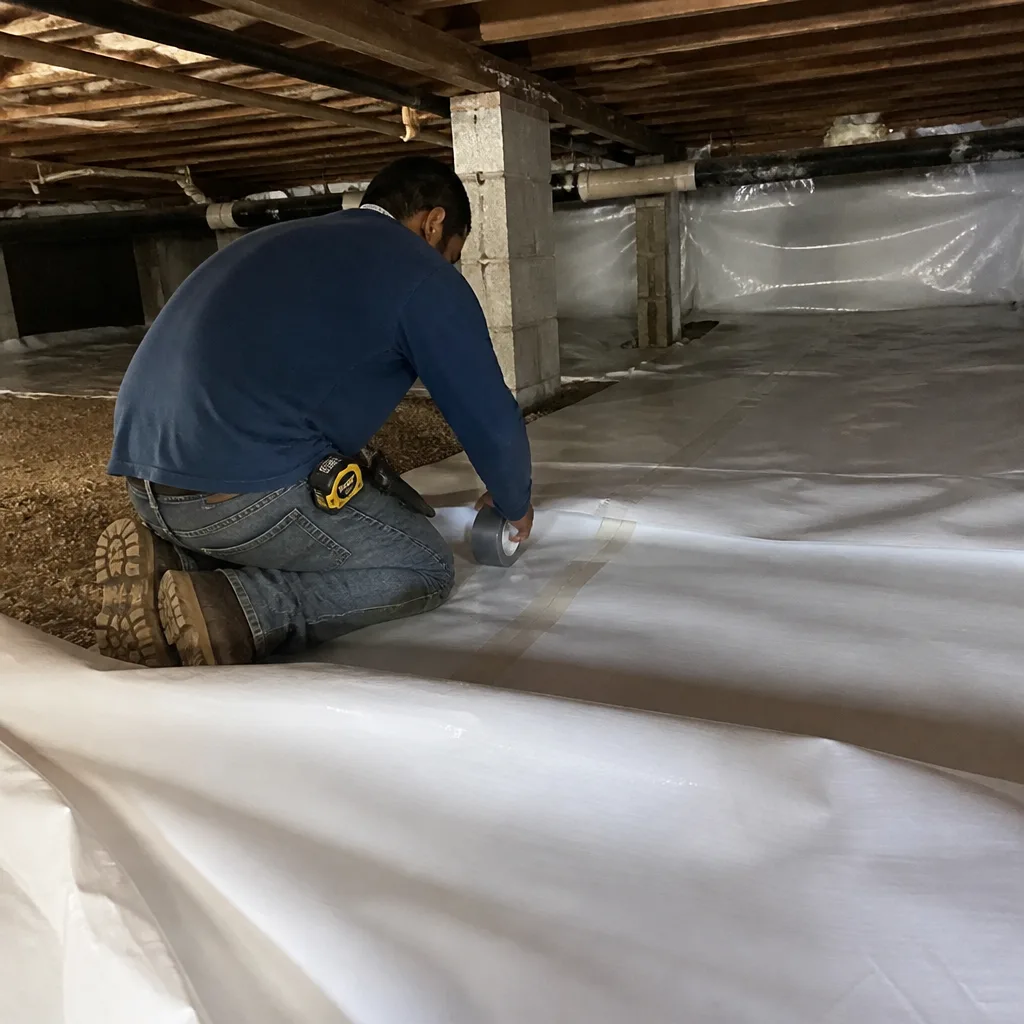
Some attic conditions exceed what a homeowner should handle. Call for professional assessment if you find: active rodent infestation or contamination; any electrical wiring that appears damaged, spliced, or buried in insulation; moisture staining that suggests active roof leakage; non-IC-rated can lights with insulation in contact; or a blower-door reading above 3,500 CFM50 for a home under 2,500 square feet. Also call if your measured insulation R-value is more than 20% below labeled value and you cannot identify a clear cause.
Attic Insulation in Lancaster requires specific knowledge of our climate zone, code requirements, and the failure patterns common to local construction eras. Topside Attic Insulation Lancaster offers free estimates in Lancaster. Call (661) 526-2890 to schedule an inspection that includes a written scope, upfront pricing, and a Documented Photo Record of findings. Every applicable job includes before-and-after blower-door numbers so you can verify the result.
Frequently Asked Questions
Twice yearly: once in early May before cooling season, and once in late October after monsoon season ends. This schedule catches the two primary risk windows for Lancaster’s climate. Call (661) 526-2890 if either inspection reveals damage or degradation beyond normal settling.
Current California Title 24 requires R-30 minimum for attic retrofits and R-38 for new construction in Lancaster’s climate zone. Many homes built before 2010 have R-19 or less. Measure your actual depth and calculate current R-value; if you’re below R-30, you’re below modern minimums regardless of when the home was built. Our Attic Insulation services can assess whether adding to existing material or full replacement is the more cost-effective path.
Check that soffit vents are unobstructed and that you have adequate exhaust ventilation through ridge vents, gable vents, or powered vents. In Lancaster’s summer, attic temperatures can exceed 140°F. Without continuous airflow from soffit to ridge, that heat radiates downward through your insulation, reducing its effective performance. A properly vented attic runs 20-30°F cooler. If your soffit vents are blocked by insulation or your roof lacks exhaust vents, you have a ventilation problem that insulation alone cannot fix.
No. Rodent urine and droppings contaminate insulation with pathogens including hantavirus. Disturbing contaminated material without proper respirators, containment, and disposal procedures creates serious health risk. Professional remediation includes removal, sanitization of surfaces, and rodent-proofing of access points before new insulation is installed. This is not a homeowner DIY project. Topside Attic Insulation Lancaster includes rodent proofing as part of our insulation removal and replacement service.
Air sealing stops the movement of air between conditioned space and attic. Insulation slows heat transfer through building materials. They solve different problems. A well-insulated but leaky attic still loses conditioned air and allows dust, pollen, and attic contaminants to enter the living space. A well-sealed but under-insulated attic has controlled air but still experiences rapid heat gain in summer and heat loss in winter. Effective energy improvement requires both, in that order: sealed first, then insulated. At Topside Attic Insulation Lancaster, we never blow insulation over an unsealed attic floor.
Most attic insulation jobs in a Lancaster home of 1,500-2,500 square feet run between $1,800 and $4,200 for blown-in fiberglass or cellulose, depending on current depth, accessibility, and whether air sealing is needed first. Spray foam applications range higher based on thickness and coverage area. We provide a written price before any work starts, always, under Haven Standard Clause 1. Call (661) 526-2890 for a free estimate with exact pricing for your specific attic conditions.
The Bottom Line
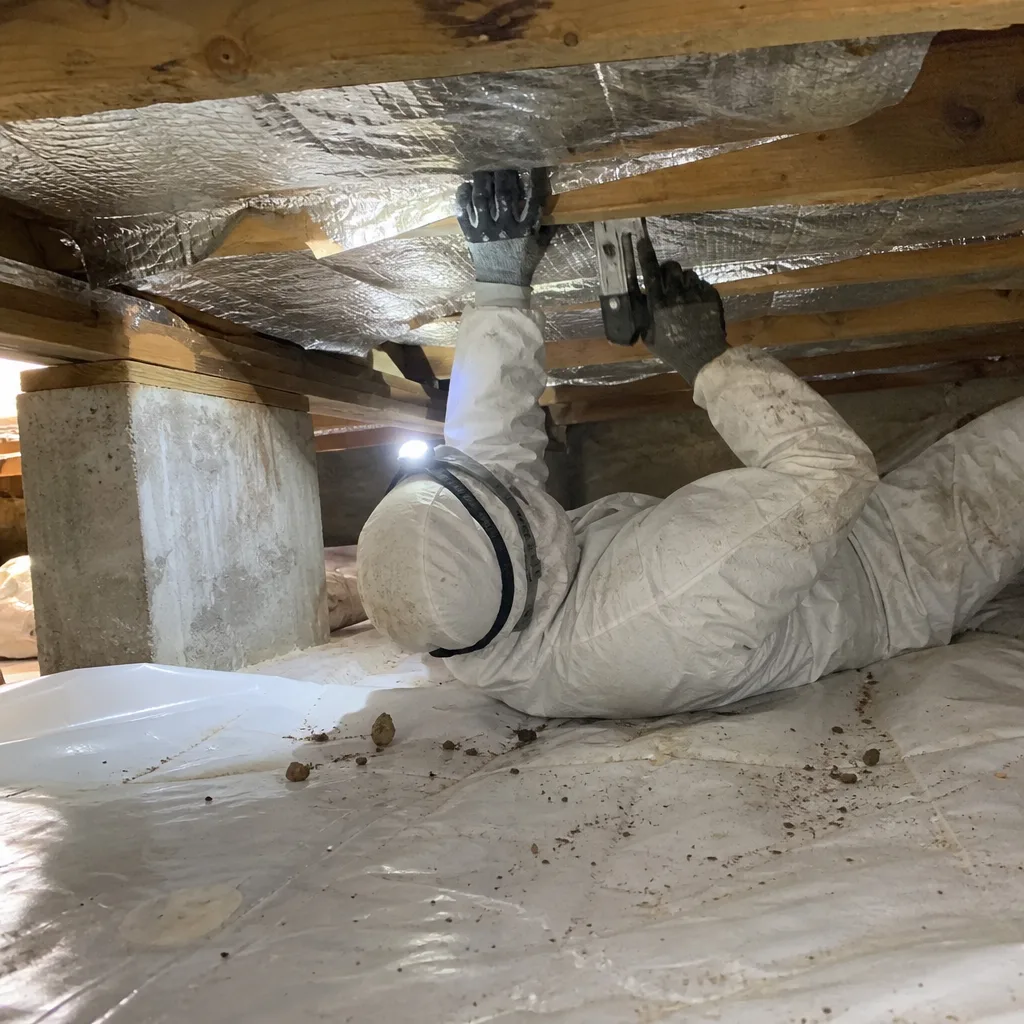
Attic insulation in Lancaster doesn’t fail dramatically. It degrades through specific, identifiable events that a methodical homeowner can catch early. The annual protocol is straightforward: measure depth against the labeled R-value in May, inspect for monsoon damage and rodent activity in October, verify that every penetration is sealed and every can light is properly rated, and keep dated documentation of everything you find. The homeowners who avoid surprise utility bills and expensive remediation are the ones who treat the attic as a system that requires periodic verification, not a one-time installation to be forgotten. For more guides & resources on attic maintenance, visit our blog, or if your inspection reveals gaps between what should be there and what is, call (661) 526-2890. We’ll read your documentation with you, provide a written scope and price before any work starts, and leave you with blower-door numbers that prove what changed.
Written by Wes Okafor, Owner at Topside Attic Insulation Lancaster, serving Lancaster since 2016.